From manuscript to a print PDF
This guide takes a book from the first line to a PDF a printer can use. It follows Wit’s own order: write first, shape the page later. Shortcuts are given for Windows and Linux; on a Mac, read Alt as ⌥ and Ctrl as ⌘, and see the full list for the few that differ.
1. Start a book
Press Alt+N. Wit asks what you are writing: a book, an essay, a screenplay or a stage play. Choose Book, give it a title and an author, pick its language, and choose where to put it. Wit makes a folder named after the title with three things inside:
story.md, your textbook.yaml, the page settingsimages/, for illustrations
That folder is the whole book. Back it up, copy it, or open the text in any other editor; nothing is hidden.
If you already have a manuscript, press Alt+O instead and open its folder, or the .md file itself. Wit adds a settings file beside it and leaves your text alone.
2. Write
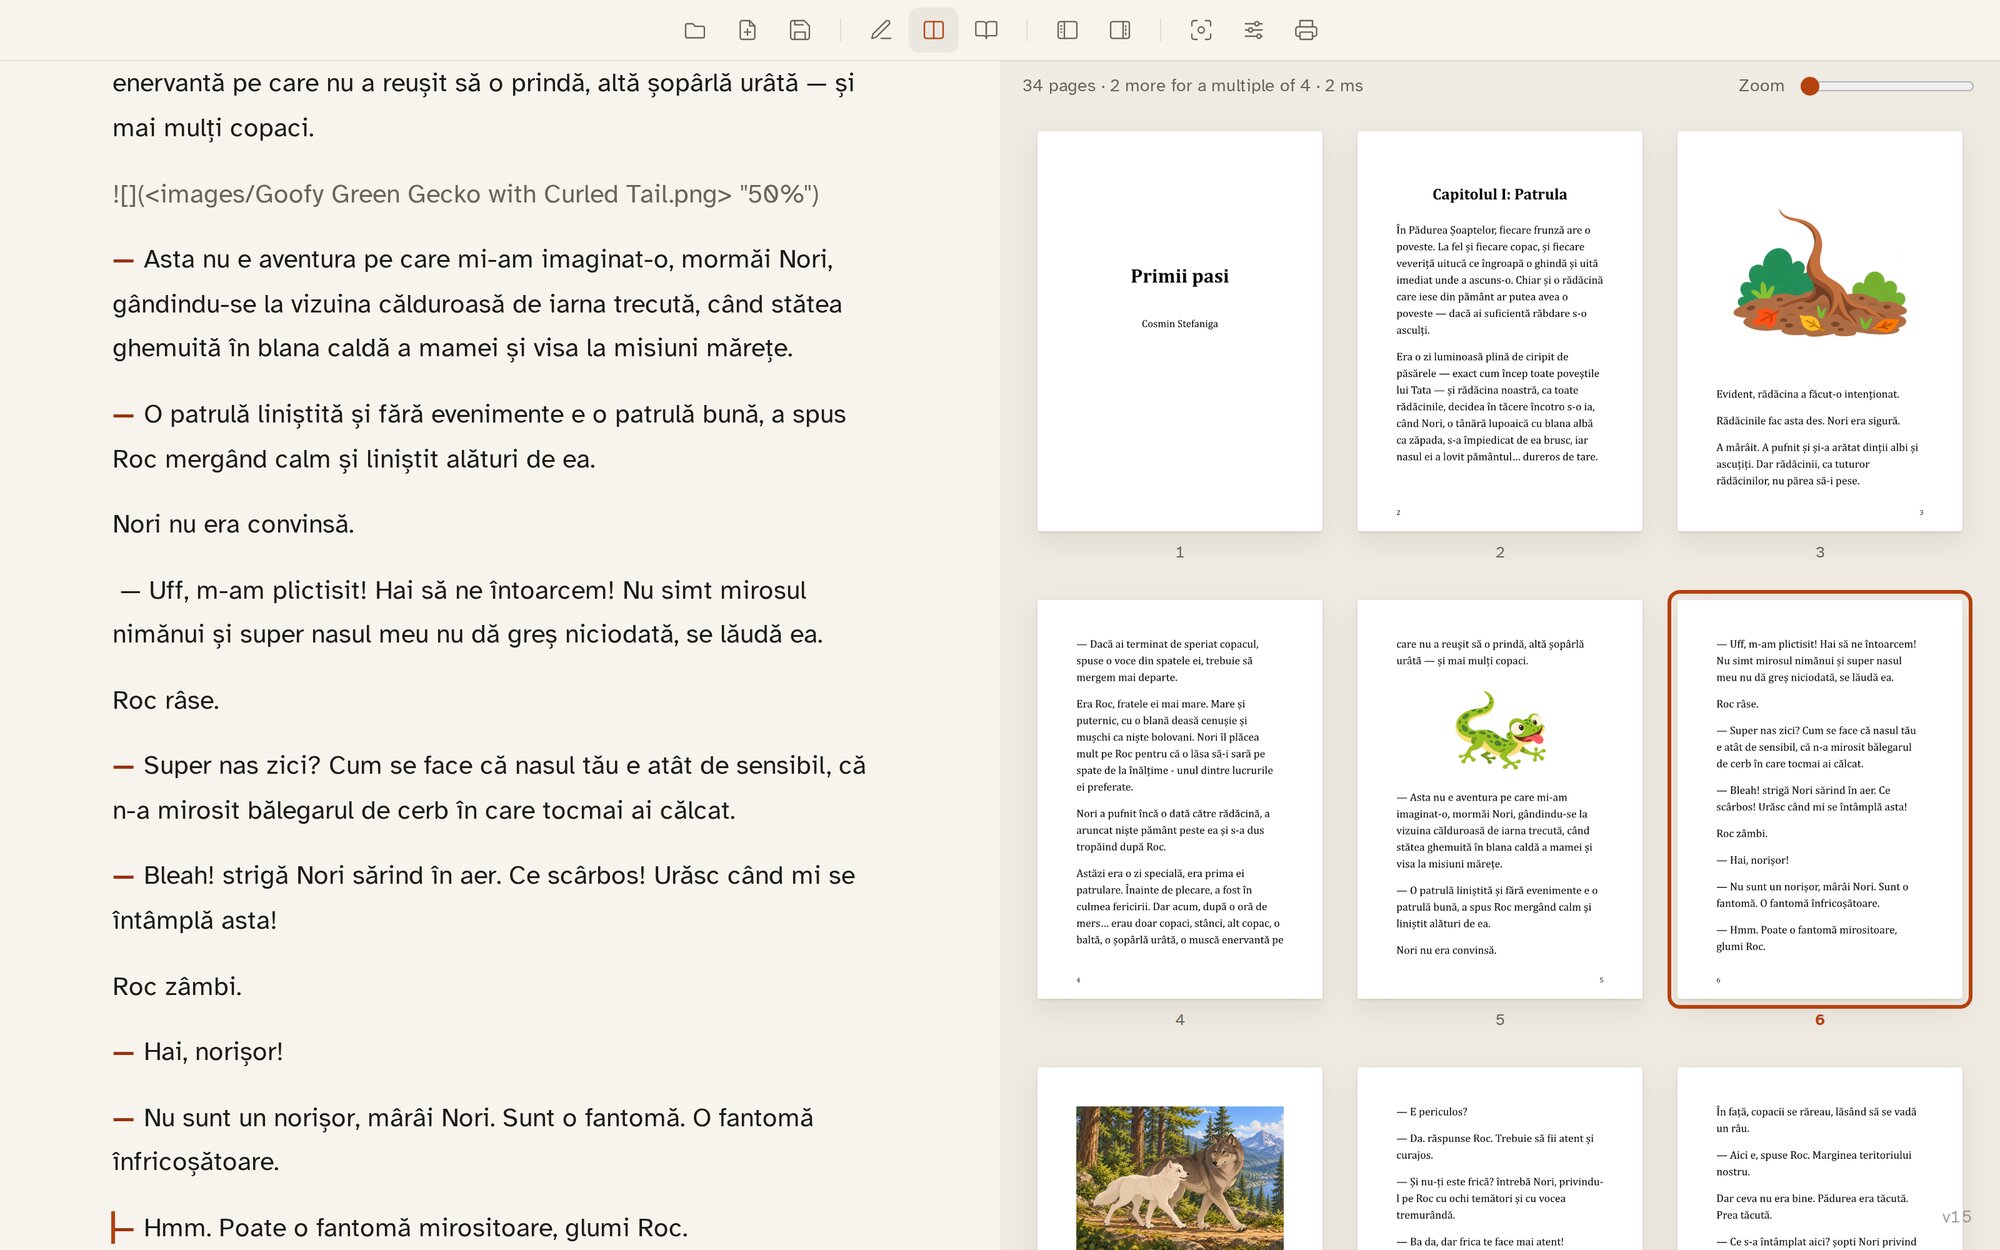
Wit opens in Split mode, text on the left and pages on the right. For a long writing session, press Alt+1 for Write mode, which shows only the text, or Alt+4 for Focus mode, which also dims every paragraph except the one you are in. Esc leaves Focus mode.
A book is a Markdown file, which means a few plain marks do the work of a formatting toolbar:
- A line starting with
#is a chapter. It starts a new page. - A line starting with
##is a section heading inside a chapter. - A blank line starts a new paragraph.
- A line starting with
—is dialogue. Press Ctrl+D, or type two hyphens, and Wit puts the dash in for you. *italic*and**bold**work as you would expect. Ctrl+I and Ctrl+B add them.---on a line of its own is a scene break, printed as a centred***.
You don’t need to remember these. The formatting dock (Ctrl+Space) has a button for each, and the command palette (Ctrl+Shift+P) lists every command with its shortcut.
Wit saves 0.8 seconds after you stop typing. When a draft is worth keeping, press Alt+Shift+S and give it a name; it is kept for good in the book’s .wit/revisions folder. Alt+H opens the revisions window, where you can read an earlier draft, see what changed, and bring it back.
Open the chapters sidebar with Alt+[ to move between chapters, and the statistics sidebar with Alt+] to see your word count and set a target.
3. Add illustrations
Put an image file in the book’s images/ folder, then name it in the text where it should appear:


The first is a spot illustration at 70% of the text width, the second at half, and the third a full-page illustration that runs to the edge of the page. Ctrl+M inserts the line for you. The page preview shows the image where it will print, and the print checklist, in step 5, tells you whether its resolution is enough for the size you gave it.
4. Choose the page
Press Alt+2 to see the pages again, then Alt+L for Page setup. It opens beside your pages and changes them as you go.
Start with a template. A template sets everything at once: trim size, margins, typeface, text size and spacing, how chapters open, where the page numbers go. For a novel, Novel · 6 × 9 in is the most common paperback size at print-on-demand services; Novel · A5 and Novel · 13 × 20 cm suit printers in Europe. There are templates for large print, non-fiction, workbooks, standard manuscript format and several kinds of children’s book.
Then adjust what you want:
- Size. Every paperback size on Amazon KDP’s list, the mass-market and UK sizes, the ISO A and B sizes, square picture books, or a custom width and height in millimetres.
- Bleed and margins. Bleed is for illustrations that run to the edge. The inner (spine-side) margin is set separately from the outer one.
- Font. Ten open fonts ship with Wit, from EB Garamond to Atkinson Hyperlegible, and the list also shows every font installed on your computer.
- Text. Line height, justified or ragged right, hyphenation, first-line indents or space between paragraphs.
- Chapters and pages. Chapters on a new page, or on a right-hand page; chapter title size and alignment; a title page; page numbers at the bottom outside edge or the bottom centre.
Every change is written into book.yaml, in plain text, and the pages re-set a moment later.
5. Read the print checklist
Below the settings, Page setup keeps a checklist for the pages as they are now.
On a KDP trim size it checks KDP’s paperback rules: at least 24 pages, a spine-side margin wide enough for the page count, the outside margins, and a bleed of 0.125 in (3.2 mm) if you use bleed at all. On other sizes it checks that the page count is a multiple of four, which matters for stapled and folded booklets. Every illustration is listed with its resolution at the size it is placed, so a soft image shows up here before it shows up in print.
Every printer has its own requirements. The checklist covers the common ones; read your printer’s guide and compare.
6. Export the PDF
Press Alt+E for the export window, or go straight to one of these:
- Print PDF (Alt+P). White pages, the book as the printer should receive it.
- Proof PDF (Alt+R). The pages exactly as set up, for checking on screen. If you turned on dark pages for proofing, this is where they appear; the Print PDF always has white pages.
In the desktop app, Wit asks where to save the file. Open the Print PDF in a PDF reader and page through it once at 100%, then send it to your printer or upload it to your print-on-demand service.
7. Send the manuscript to an editor
An editor may want a document, not a book. In the export window, choose Word document (.docx) or OpenDocument (.odt). Both give the same manuscript: A4, Times New Roman 12 pt, one-and-a-half spacing, indented paragraphs, each chapter on a new page, illustrations at their width. The book’s own fonts and page size stay in the PDFs.
That is the whole path. Write in story.md, shape the page in Page setup, read the checklist, export. The book stays a folder of plain text the whole way.